
From Figma's design team: How to run a design critique


Learn six unique methods for design critique used by the Figma design team, along with some tips and best practices for running them effectively.
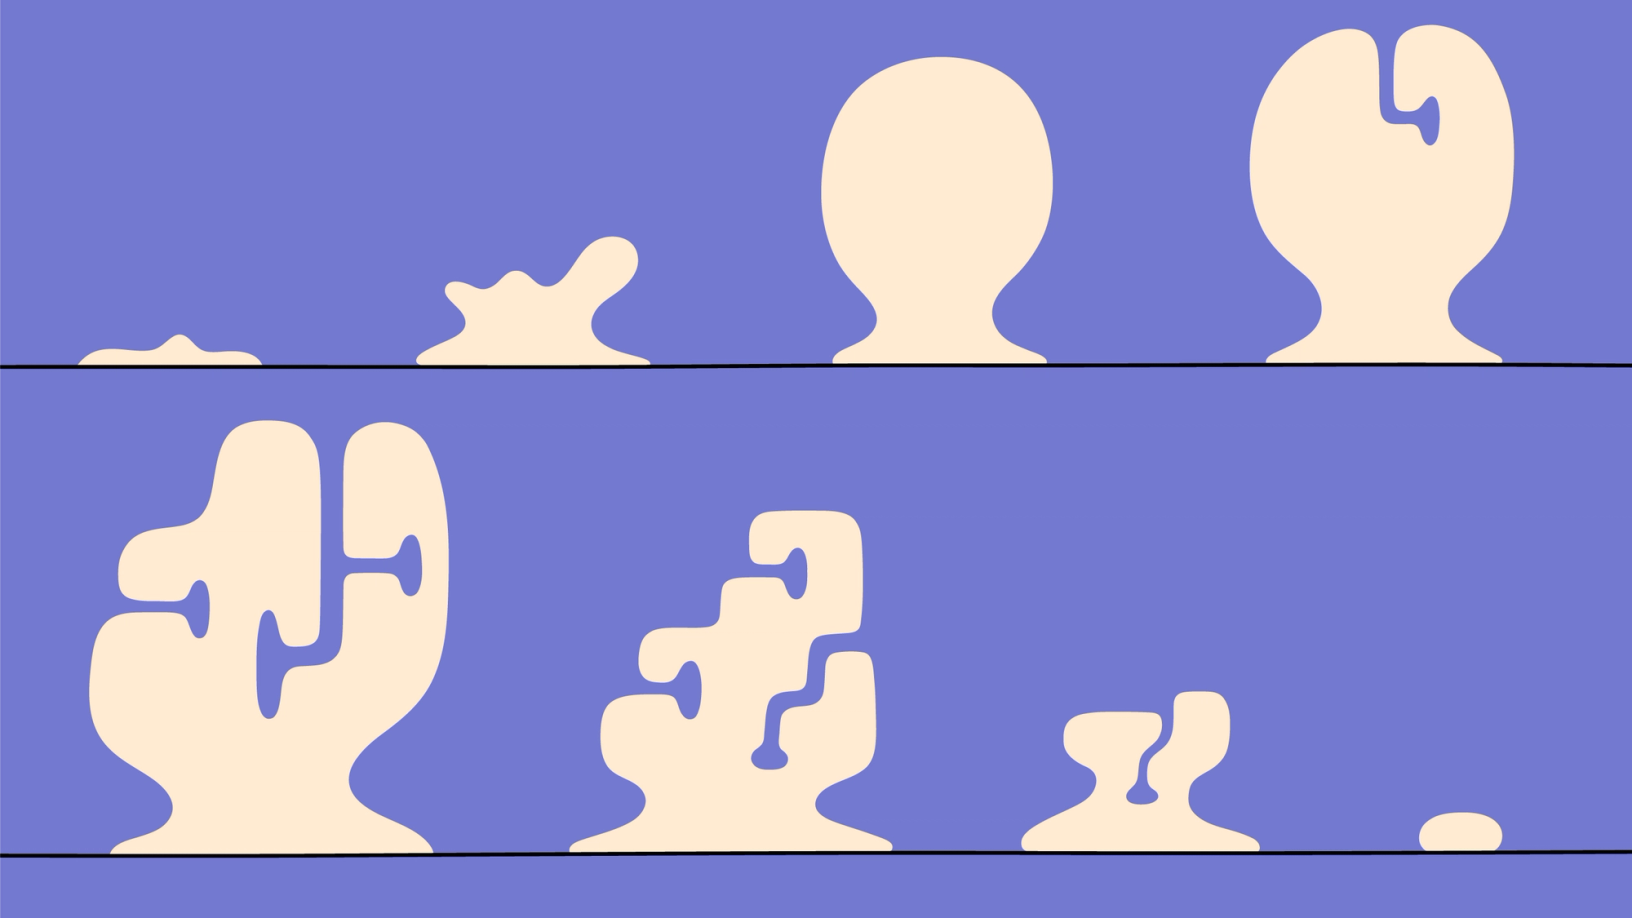
Hero image by Andreas Samuelsson.
Design critiques are a key part of just about every design culture, and one of the few consistent rituals design teams share. Done well, they can leverage the unique superpowers of your team members to raise the collective quality of each individual’s work. Critiques should leave you feeling inspired, challenged, and empowered. However, in practice, it doesn’t always pan out that way. A poorly managed critique can cause your team to feel discouraged, overwhelmed, or completely lost. Over the past year, we’ve made a lot of changes to the way we do critiques at Figma to try and avoid those pitfalls.
Our driving philosophy is the belief that critiques should be motivating, not intimidating. Helpful, not discouraging. They should feel fun and be something designers look forward to. Does your team feel this way? If not, there’s an opportunity to turn them around and make them better.
Our driving philosophy is the belief that critiques should be motivating, not intimidating. Helpful, not discouraging.
We often forget how much of a privilege it is to truly collaborate with talented peers. Recurring design critiques are an essential part of fostering elevated collaboration between team members. We lose sight of the potential of the meeting if they aren’t run well, or if the environment doesn’t feel safe. Getting them right is a critical part of your team’s design culture and identity, and makes a large impact in recruiting and retaining talent!
In this article, I’ll share how we use critiques at Figma, and how we worked together as a team to turn them into meetings we all enjoy, rather than fear.
Critiquing critiques
I had been helping facilitate critiques at Figma for about a year when the team decided to get together and chat about what was working and what wasn’t. We set out to “critique critiques”, if you will (🤦♂️). Turns out we had quite a large list of problems:
- The rooms were getting overcrowded
- Feedback was too shallow
- Problems were too complex for a short time frame
- Feedback was not actionable
- There were a lot of unhelpful “group think” and “+1s”
- People were too “nice” rather than “honest”
- Overall, they weren’t unblocking people or helping them move forward
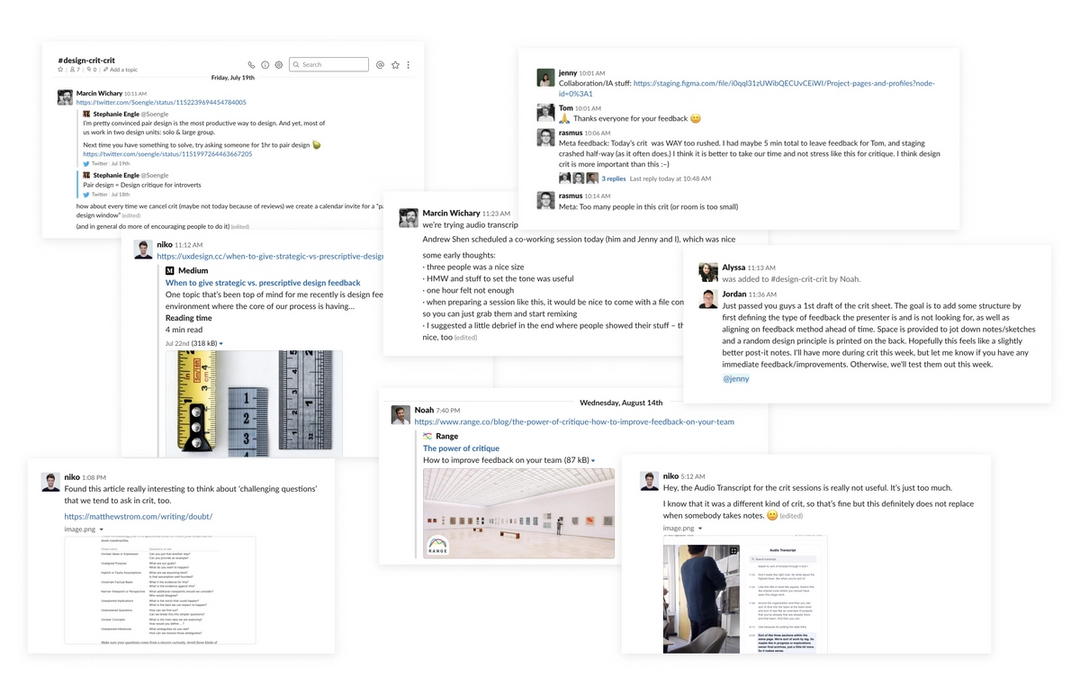
We use Figma for everything, including how to “critique critiques.”
We collected all of this feedback in a Figma file and organized it into themes to help us make sense of it all.
Then something interesting happened. During the meeting, people started proposing one idea after another. The energy was light and fun, yet productive. This was ironically the exact feeling we wanted to replicate during critiques themselves!
What was it about this context that allowed people to loosen up and get creative? Perhaps the stakes were lower? Or no one person felt they personally were getting critiqued? Whatever it was, we were clearly working well together, and it felt great. By identifying the positive flow of the room as it was working, and acknowledging it, we knew our target.
Recognizing we wouldn’t solve everything in one discussion and that this would be an ongoing process, we created a “#design-crit-crit” channel in Slack to keep iterating together. Especially as our team grows, and as the types of problems we work on change, we wanted to make sure our process is always evolving with the company.

Aligning on goals
As in any good design process, we first had to align on the goals of critique. Only then could we understand and measure if our meetings were actually achieving what we needed. We decided on the following:
- Unblocking problems & generating ideas: Many times designers feel stuck on a problem after staring at it for too long, and find it helpful to leverage the broader team to move forward confidently. Other times you’re just getting started, and want to collect any ideas that your team may have already thought of.
- Elevating quality: Everything from visual design, to interaction details, or overall product direction.
- Encouraging consistency: We wanted to make sure we were leveraging existing patterns where possible, or flagging when there’s a need for a new one.
- Sharing context: Design teams are small enough to be in the unique position of having good context for what’s going on in the company. This allows people to identify overlaps and connections between projects that people in other roles might not have as much access to.
Noticeably missing from this is: “Making major product decisions” or “Determining product roadmaps.” Design critiques are not the forum for that; teams should have separate roadmapping processes to determine direction. Critiques need to remain a safe space for exploration and feedback, independent from roadmap decision making and free from stress.
Ultimately, critiques exist to help the designer/presenter—the person looking for support. In that way, it’s really up to them to utilize the best approach to accomplish that. The rest of the design team simply needs to commit to being present and ready to help.
Six critique methods
With those goals in mind, we put together six different critique methods, each with their own strengths and purposes. They are designed to take place either in a one-hour meeting (usually two topics, 20–30 minutes each) or in smaller ad hoc meetings, depending on the method. With the exception of the “paper print-out,” any of these should work great for remote teams as well.
1. Standard critiques
Standard format. Present context, receive feedback.
Best when: You want people to understand the context behind the project, and to walk them through your thinking. You’re ok with some discussion, and ideally, have specific feedback you’re looking for.
Step 0: Set-up
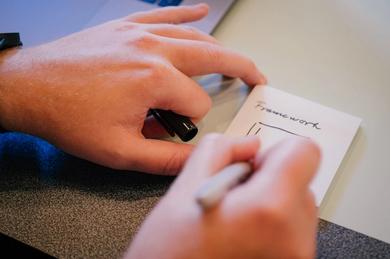
Before or as people are walking in, set up sticky notes and pens at each chair to encourage people to write down ideas throughout the meeting.
Step 1: Sharing context & internalizing feedback (~10–15m)
Start the meeting by explaining the context of the project (if people aren’t already familiar with it). Why is it important? What are the goals? The project goals are the foundation of the project, and if people miss that part, their feedback will be misdirected. Decide if you want people to interrupt with questions, or wait until you’re done sharing, and let them know which you prefer. Include a slide dedicated to “Here’s the feedback I am looking for,” and conversely, “Here’s what I’m NOT looking for” to keep the discussion focused. Remind them to write down their thoughts as you’re going through the content.
Rather than present on a big screen, we often send everyone a Figma link and have them jump into Observation Mode. We find it much easier to see details this way, it works great for remote participants, is more reliable connectivity-wise, and better for high frame-rates than most screen-sharing software. You run the small risk of people wandering in the file rather than observing, but we’ve found that can also sometimes be a good thing if someone missed something but didn’t want to stop the full group for it.
Step 2: Clarifying questions (~2–5m)
After you finish presenting, take a few minutes to allow anyone to jump in with clarifying questions. This is important because if one person is confused, it is likely others are as well. You want questions clarified before folks jump in with feedback to ensure everyone is on the same page.


Step 3: Receiving feedback (10m+)
We have two very different approaches to receiving feedback from the room. We’ve branded them to make them easier for the facilitator/presenter to request which form they prefer to receive feedback in:
- Round-the-room (RTR 🎡): Go one at a time around the room, and give everyone a chance to voice their feedback. Try to keep it to two minutes per person. No “interruptions” from others—if they have a pressing thought, encourage them to write it down for their turn. It’s important to go one at a time and give space for the person speaking to help folks who may not normally feel comfortable speaking up in groups. Having a structured format to receive feedback like this enables us to be more inclusive of different people and preferences. Allow people to “pass” if they have nothing to add, or if they’d like to think more and provide feedback later.
- Popcorn (🍿): Freeform discussion. It’s called Popcorn because comments pop up from all over the place unpredictably. This is more improvisational and helpful for flowing conversation where people can jump in with “Yes, and...” We often use Popcorn if we’re short on time and preface it with, “Any one have any critical things you feel the need to share?” Then we’ll document any other comments later. However, please note that this method can be dangerous for inclusion as it can reward the “loudest voice.” To combat this, I’d encourage the group to call on people who haven’t spoken (if they’re comfortable with that), or moderate the conversation a bit if it’s getting lopsided.
As you’re receiving feedback, try not to get defensive and justify everything. It’s best to model good behavior by simply thanking people for their feedback. You don’t need to respond immediately to everyone’s points. It’s ok to take time to consider what they’re after and get back to them later.
Step 4: Thanks & follow-ups (1m)
Don’t forget to thank everyone, and let people know how best to send you feedback if they think of anything else. Should they send it via Slack? In a notes document somewhere? In the Figma file? Are you free to meet with them individually? If so, when? You could also put the work on them to find time with you, which can filter out people who felt strongly enough to do that. More often I prefer to make it as easy for people to contribute as their ideas are usually quite helpful.
2. Jams & workshops
Brainstorms, Crazy 8's, mood boarding, sketching, etc.
Crazy 8's is a core Design Sprint method. It is a fast sketching exercise that challenges people to sketch eight distinct ideas in eight minutes.
Best when: You’re very early on in a project. Maybe you’re looking to soak in as much as you can from other people about what they may have already thought about or explored in the past. Maybe you just want a kick-start to be as divergent and exploratory as possible before starting to narrow in. Your design team brings together so many different perspectives and skills that involving them early can often inspire entirely new concepts, and help avoid tunnel-vision.


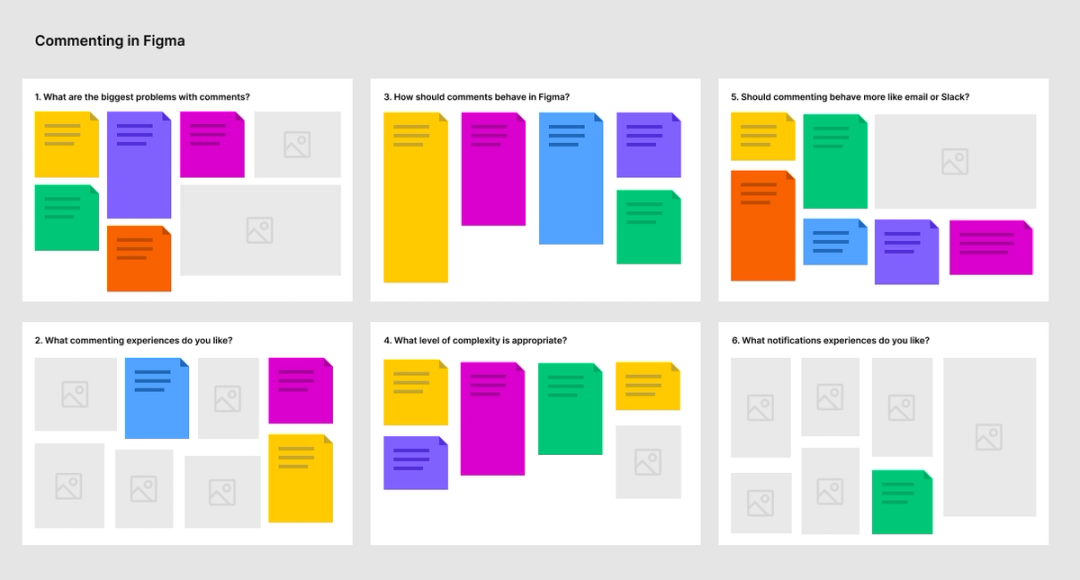
How: There are lots of methods out there for brainstorming. If you’re using paper, personally I love the Crazy 8’s method. Our favorite way of doing these, however, is inside of Figma itself. In particular, one recent fun example was when one of our design interns, Andrew Shen, got a bunch of us in a room to research his summer project, “Comments in Figma.”
All Andrew had to do was drop us a Figma file with a few prompting questions for us to jam on. Things like, “What are the biggest problems with comments today?” “What commenting experiences do we like?” “Any ideas on how they should behave?” “Should they be more like email or like Slack?”
Then we were off to the races—we went heads down for 30 minutes and started dropping in references, snippets of texts, and anything else we could to get our ideas across. This quickly became much deeper than just a survey or a poll because you could see others’ ideas in real-time, and start to riff off of them together. After going heads down, we went around the room and discussed each other’s ideas, adding any clarification where needed. In just a single hour, Andrew had leveraged the collective brainpower of six people, and had tons of material to work from when starting to sketch out some ideas.

3. Pair design critique
Work in small groups of two or three.
Pair programming is a software development technique in which two programmers work together at one workstation. One, the driver, writes code while the other, the observer or navigator, reviews each line of code as it is typed in. The two programmers switch roles frequently.
Best when: The problem may require more context and deep work. It’s hard to get a big room thinking about everything all at once, so organizing participants into small groups is much more productive.
Perhaps our most popular alternative method so far, pair designing has become a staple in our process at Figma. So much so that for a little while, once a week we dedicated one of the critiques to strictly using this method. We’d start each meeting by dividing people up into groups of no more than three people to tackle problems.


We’ve since moved away from requiring this once a week because it didn’t feel right to force people to use a method if they weren’t ready for it. Instead, we’ve started encouraging people to plan these meetings ad hoc. Now, people simply shout out in the design channel on Slack, “Hey, anyone free to pair?” Then they schedule a separate time together.
The havruta relationship, also spelled chavruta or chavrusa, gives each student a platform to clarify and explain their position to a partner; then the two go on to question, defend, convince, amend, fine-tune, and even arrive at new conclusions through rigorous intellectual collaboration.
Another way to encourage frequent pair designing is by assigning a “copilot” to any lead designer working a project. At a startup like Figma, we’re a small team so there aren’t enough designers to have multiple people on the same problem full-time. We found that by assigning a partner even just part-time, it can make a big difference in feeling less alone while solving a problem. It hasn’t been perfect or consistent; for many projects we forget to assign a copilot or people simply get too busy. But as we grow, we hope to formalize this further.
Professor Nathaniel Deutsch gave a pretty cool lecture about the benefits of practicing in pairs from this historical context if you’re curious to learn more about it.
It’s worth noting that pair designing is not a new concept. Engineers have been pair programming for years to help debug problems and catch mistakes. Going back even further, as far back as 10–220 CE, Rabbis used to urge students to acquire study partners under a process called havruta, an approach to Talmudic study where small groups analyze and debate text together.
And if you’d like to continue discussing pair design in general, I’d recommend reaching out to Stephanie Engle who’s been thinking a lot about this as she’s found pair sessions particularly helpful during her time working at Cruise and at Facebook.
4. Silent critiques
Everyone stays silent and reviews a document and adds feedback digitally. Similar to art gallery, except context may actually be given, and there's no verbal discussion.
Best when: You’re looking for a large volume of feedback, or you’re remote.
Silent Meetings are meetings where most of the time is spent thinking and discussing [via writing] the topics at hand. Functionally, they are based around a 'Table Read' that everyone at the meeting reads silently, comments in and then discusses.
It seems funny at first to imagine a group of people in a meeting room, completely silent for an entire hour. But bear with us. We first got the idea to try this after Niko, one of our designers, read the Silent Meetings Manifesto. In it, the author, David Gasca, laments his frustrations for typical corporate meetings, and offers a unique alternative: Silent Meetings.
The basic idea is that verbal communication in a group setting only allows for one line of conversation at a time. You have a speaker, and a bunch of listeners. By not relying on speaking, a “silent meeting” can instead offer multiple conversation threads simultaneously, allowing for a greater volume of feedback to be received in a shorter period of time.


For the givers, it allows the inclusive opportunity to more deeply internalize the work, and write thoughtful responses by being able to move at their own pace. For the receiver, it can be exhilarating and exhausting, but also very rewarding. Niko, for example, works remotely from Germany and often finds himself needing half a day to process the avalanche of feedback. And although it can feel overwhelming at first, it can spark so many new ideas over time.
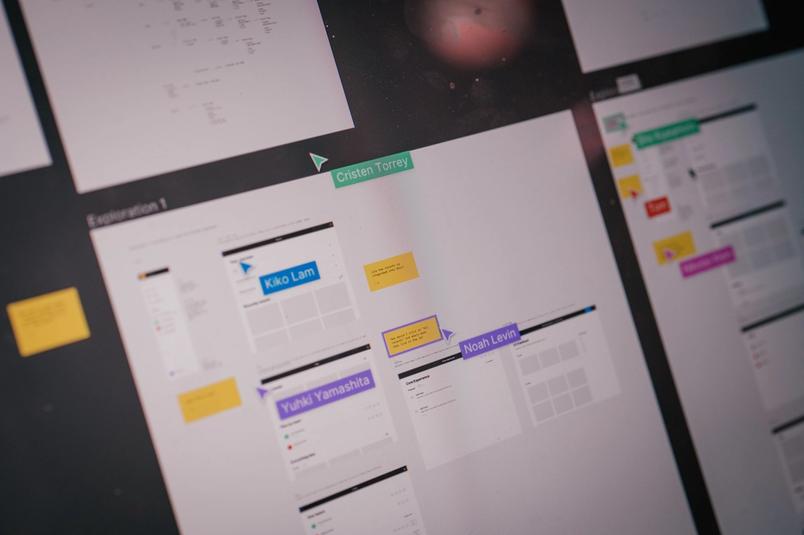
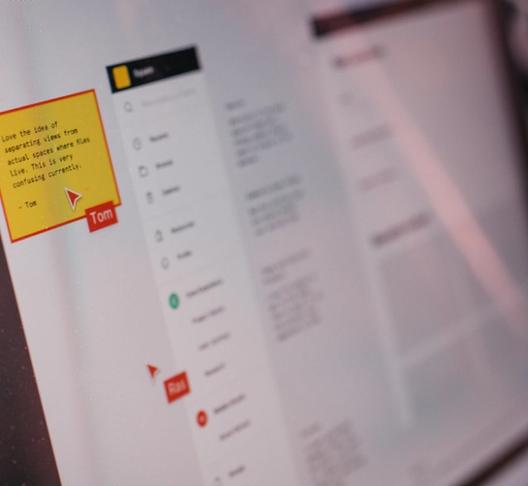
Timelapse of a silent critique we ran at Figma
Silent critiques do require more preparation work as they effectively need to work asynchronously; the audience needs to be able to gather all the context necessary inside the document to offer feedback. Another reason this works particularly well for remote designers, is that they often have time and interest for exercises that get the most out of their limited interactions with headquarters.
These silent critiques can also be done completely asynchronously by sending out a prompt in a Slack channel. But we found that the main advantage of scheduling a set time or doing in person is to ensure people actually take the time to review the work.
5. Paper (“print-out”) critiques
Print out work on paper and hang it up around the room.
Best when: You have a wide set of ideas that are hard to navigate in a single file, or you want to inspire people to not feel so limited by the pixels themselves.
Believe it or not, there was a time where designers didn’t have computers to run critiques. Crazy, right? Sometimes I think we forget how valuable it was then to get the chance to work with physical materials. We’re so used to staring at screens all day that we assume meetings have to run this way too. Actually encouraging people to get up and move around has a ton of benefits. Ideas may flow more freely, and the change in context can be helpful for not feeling so limited by pixels.
If you went to design school like I did, you might have had the profoundly memorable experience where professors would hang up all of the students work on foam core or cork walls and teach everyone how to critique it together. Sometimes they’d take a big red pen and annotate all over it. The class would surround the work, one at a time, and talk through what was working and what wasn’t. In my nearly 10 years designing products since then, I can only remember a small handful of times the design teams I worked on tried this method. Instead, we most often pointed at a screen on one side of the room, some of the time sitting nearly 20 feet (~six meters) away from it!
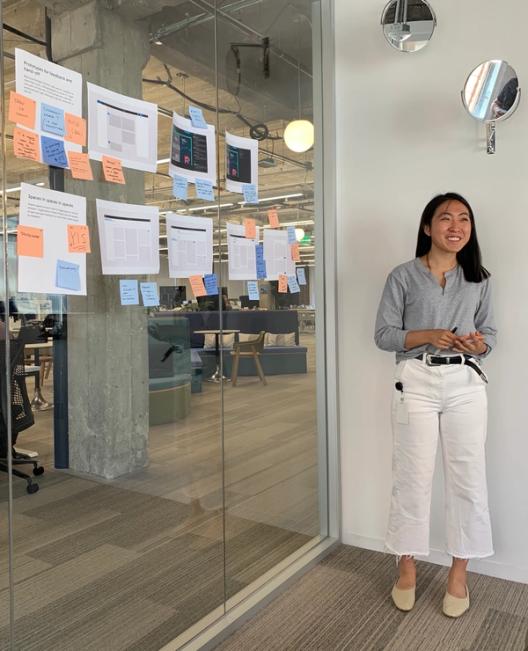
Jenny, Rasmus, and Marcin, three of our product designers at Figma, have been particularly big proponents of getting us out of our chairs and back to the basics. The meeting can be run the same way as a “standard critique,” except we’re all gathering around the print outs, and attaching sticky notes as feedback.

Given that this method doesn’t work well for remote attendees, we combat this by assigning a note taker, recording the meeting, and taking photos. If the attendee can join in real-time, we'll often have a complementary Figma file (which doesn’t take much extra effort to make since you already needed to make one for printing), which lets them have their own “digital wall” if they’d like to try and follow along and add comments that way. If you really wanted to, you could even have the note taker try and transcribe their digital notes into physical ones to keep them together.
We end up doing this no more than once a month simply because of the overhead, and the reality of needing to put this feedback back in digitally. But once in a while, it’s a real treat to change up our day-to-day and goes a long way in opening up the conversation.
Bonus: A great side-effect of this is method is that it doubles as an amazing and lightweight way to share context or spark discussions with people from other functions in the office. If you’re able to, consider leaving the work up in the room even after the meeting, or even better if it’s on foam core that you can move it out to a more visible space in the office. The next time you see someone standing there, talk to them and ask them what they’re thinking! This fosters random cross-contamination, increases the context, and can increase the chance of serendipitous moments.
6. FYI critiques
Sharing quick context on a project. No feedback necessary.
Best when: You’re not sure people are actually reading your “New Project! Heads up!” Slack message, and want to take advantage of the attention in the room to let people know about something you’re working on.
This is admittedly the least common method for us of the six, but sometimes we’ll carve out five minutes for someone to share something they’re working on as an “FYI.” With these, you don’t usually need feedback yet, but you want to put feelers out for ideas that have been explored before, or get a better sense for other designers who may be interested in chatting about it later. It’s a great simple way to solve for the first of the four critique goals, “Sharing context.”


Ten tips for running effective critiques
We have lots more to learn, but here are a few tips that have worked well for us while running any of the critique methods listed above:
1. Match methods to problems
Have a variety of methods in your toolbelt, and name them for easier recall. Think ahead of time which ones will be most effective for the problem at hand. Stuck on a problem or a particular UI puzzle? Consider a “Jam session.” Kicking off a new project? Try out a “Workshop.” Reviewing a bunch of options? Try a “Standing critique.” Working on something particularly complex? Try “Pair design” to get deeper into the problem.
2. Schedule topics early
Schedule critiques ahead of time on Monday mornings, and update your calendar events to reflect the topics. This helps create mini-deadlines for designers, and also helps plan ahead for which guests you feel are most important to attend.
3. Use smaller rooms
We’ve found smaller rooms create more cozy environments. Out of conference room space? Just huddle around someone’s computer or form a circle of chairs. Find a coffee shop. Avoid large rooms that incite a “corporate board room” feeling.
4. Buy a timer and keep diligent time
We use this simple 60m timer. Try it out to make sure you are prompt with timing for each topic. As a facilitator, do your best to take note of how long topics are taking, to plan better for future topics. As you’d expect, topics always take at least 10 minutes more than people think they will. We've recently started only allowing a maximum of two topics per one hour critique because of this.
5. Take notes
We’ve tried different ways of including people who can’t attend (be it time-zones, vacation, sick leave, or anything else). For example, we tried automatic transcription features on our recordings with Zoom, but that turned out to be too much unfiltered content to consume. Our best results have come from pairing this recording with an assigned note taker in the room summarize the notes to hit the right spot between exhaustive but digestible.
6. Think about what you need from the room
Time is precious, respect others' time by planning 30 minutes beforehand to decide what you want help with. If you’re collecting feedback inside of Figma, be sure to leave ample space around your file, and perhaps a few sticky notes if you’d like people to annotate on the canvas.
7. Consider HOW you deliver feedback
There are all kinds of frameworks for giving valuable feedback from radical candor, to the playing cards method, to this critique chart. Niko created a nice guide to remind ourselves how feedback can take so many different forms.
8. Be vulnerable
Jon Bell's McDonald’s Theory: “I use a trick with co-workers when we’re trying to decide where to eat for lunch and no one has any ideas. I recommend McDonald’s. An interesting thing happens. Everyone unanimously agrees that we can’t possibly go to McDonald’s, and better lunch suggestions emerge. Magic!”
There are lots of ways to improve psychological safety and trust on teams, which is critical if you want your team to feel comfortable giving and receiving feedback. Adam Grant has a great podcast called WorkLife, and I recommend listening to the episode about The Daily Show that talks about how Trevor Noah sets an example of vulnerability by sharing embarrassing stories in the beginning of each meeting to set the tone of “It’s ok to mess up.” Jon Bell also offers a fun concept with The McDonald’s Theory, which you could use to help break the ice if you’re noticing a particularly shy room.
9. Remember to critique OUTSIDE of weekly meetings
You don’t need to wait for once or twice a week to receive feedback. Reach out to your team and schedule “pair design” sessions, or “offline critiques” to make sure you’re never waiting when you’re ready for feedback.
10. Experiment and iterate
Feel comfortable experimenting and iterating constantly. Just as design is never done, you should treat design processes the same way. By framing improvements as experiments, your team may be more open to change. Consider starting your own #design-crit-crit channel to keep the discussion going.
Further reading
There’s a ton of great resources out there on feedback and critique. Here are a few of our favorites:
- Strategic vs Prescriptive feedback, Fabricio Teixeira
- How to Improve Feedback, Braden Kowitz
- Challenging Questions and Feedback Revisited, Matthew Ström
- Medium's “Tactical Design Critiques”, Marcin Wichary
- Designing Collaboration Thesis Project, Essi Salonen
- Making the most of design critiques, Zachary Pfriem
- Share & Care at EightShapes, Nathan Curtis
- Visual Crit Fun Time, Tom Harman
- Brain Tree Critiques with Figma, Carmel DeAmicis
Thanks!
Thanks for taking the time to read about our critique process. We hope you found it useful. Please let us know if you try any of these methods or tips—and share your own. We want to share more about the design team processes at Figma. What are you interested in? Send us a note on Twitter.
P.S. The best way to participate in our critiques is to just join our design team! We’re hiring for multiple roles, and would love to hear from you you.